Particle Madness
So far, we’ve created 3D objects and cameras in After Effects. Let’s explore another 3D topic with one of After Effects’ coolest features: particles. Particles can be used to create all sorts of interesting effects, including rain, snow, smoke, flames, fireworks, stars, and a lot more. Even as a purely abstract aesthetic element, particles can add a lot to a composition.
If you look under the “Simulation” section of the effects, you’ll see that there are actually a few different particle-related options: CC Particles Systems II, CC Particle World, and Particle Playground. We’re going to be focusing on CC Particle World, since it’s the only effect that works in a 3D environment. Many of the options in Particle World can be applied to the other particle simulation effects as well, so learning this one will give you a good head start on using the others.
If you do any online searches for particle techniques in After Effects, you will probably see another effect mentioned a lot: Trapcode Particular. Trapcode encompasses a suite of effects made by the third-party company Red Giant. Of all the many effects, scripts, and presets that can be added to After Effects, Particular is easily one of the most popular. It offers more advanced controls and options than the built-in effects do, but it doesn’t come cheap: Particular by itself costs several hundred dollars and the entire collection of Trapcode effects runs around a thousand. If you end up doing this kind of work professionally, Particular is absolutely worth investing in – but you can still do a lot with After Effects’ built-in Particle World and it’s the perfect tool for learning the basics.
Particle World
CC Particle World is an effect, which means it needs to be applied to something. First, create a new solid, the same size as the composition you are working in. Even though we’ll be working in 3D, you can leave the solid as a 2D layer. Add the Simulation effect CC Particle World to the layer and you should see an immediate change.
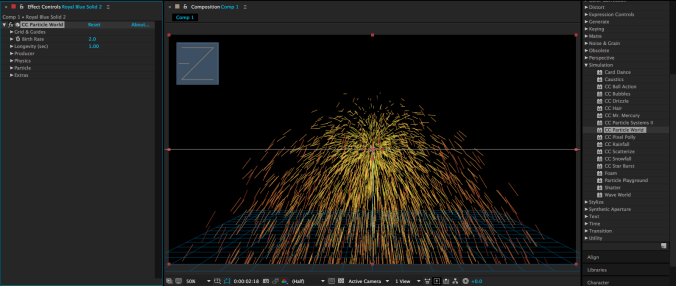
The solid you were working with should have disappeared – in its place, you should see something that looks a bit like a firework, along with a 3D grid and some other guide marks. When you apply Particle World, the effect begins to emit particles from the start point of the layer it is applied to – so you should see particles shoot out as you scroll through the timeline.
The first thing I’d recommend doing is turning off the grid, guides, and other extraneous information. In the effect controls, the first section of the effect is Grid & Guides – feel free to uncheck the boxes for position, radius, motion path, grid, horizon, and axis box. Once we start exploring the composition with a 3D camera, some of these options may be useful, but they can always be switched back on.
Below the Grids & Guides section is Birth Rate, which determines how many particles the effect will generate. This is determined by a slider that goes from 0 to 20, but these numbers don’t correspond to the actual number of particles on the screen – the default value, 2, probably produces hundreds of particles per second. If you want a small number of particles, set this number very low – the lowest number you can type in is .01. For lots of particles, set the number higher, but be aware that your computer may begin to slow down.
The next control is for Longevity (sec), which determines how many seconds each individual particle will remain before disappearing. If your particles exit the screen quickly, you may not realize that they are disappearing, but you should see the overall radius of your particle group change by lowering this number. A particle’s color, size, and opacity can change over its lifespan, so this is an important variable.
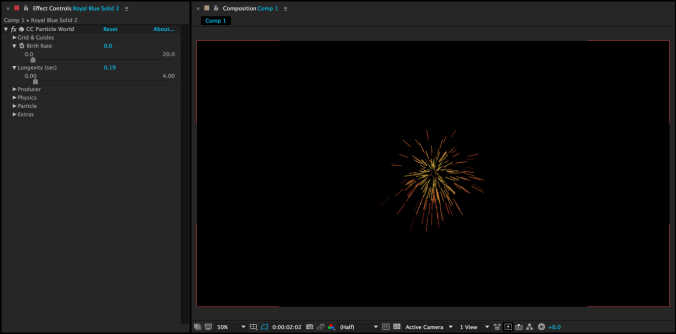
Below the Longevity are controls for the producer of the particles. These are used to determine the position and size of the particles’ origin point. Remember to use these controls to change position – not the position property of the solid layer that the effect is applied to. By adjusting the three radius controls, you can make the particles emit from a tiny point, a sphere, a disc, or a line.
After the Producer controls are some of the most interesting options in the effect: the adjustments for physics. The Animation dropdown menu determines how the particles are emitted: Explosive shoots them out in all directions, Direction Axis shoots everything one way, Twirl sends things in a complex swirl, and so on. There are lots of options with very different results, so feel free to try several of them. Besides Animation, the most important settings under Physics are probably Velocity, Gravity, and Resistance. Velocity is the speed at which particles are sent from the emitter; Gravity can be set to a positive number (particles fall down), negative number (particles float up), or zero (particles move in the direction they are shot); Resistance slows particles down as they move through space. Depending on which Animation option you choose, you may or may not also have access to the controls under Direction Axis.
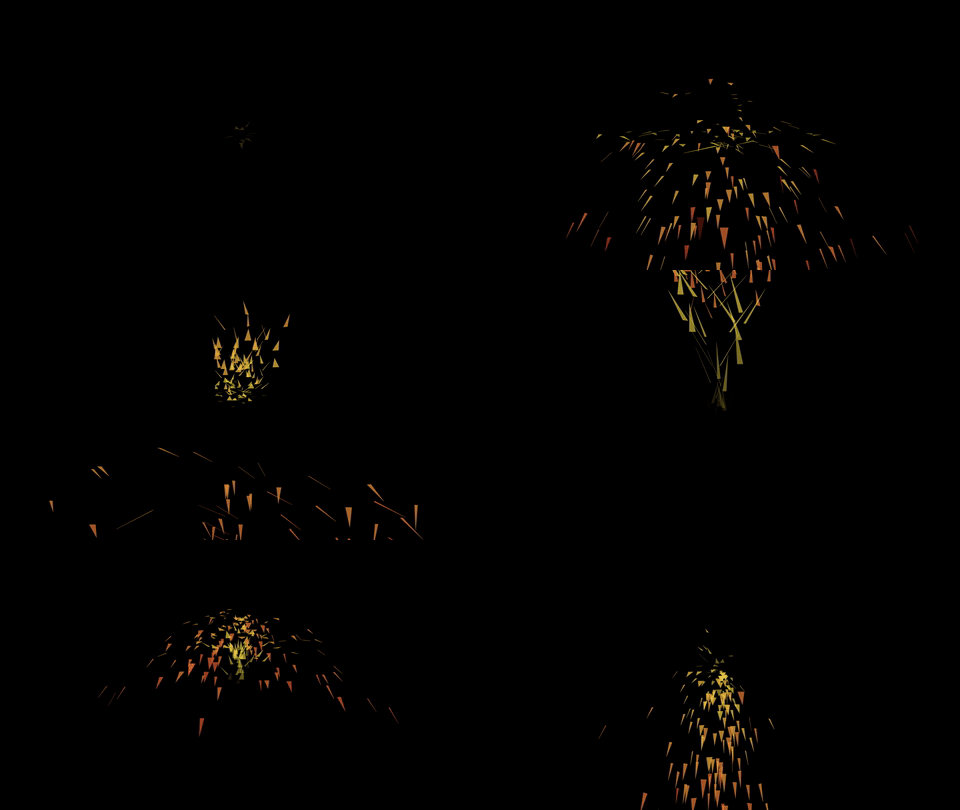
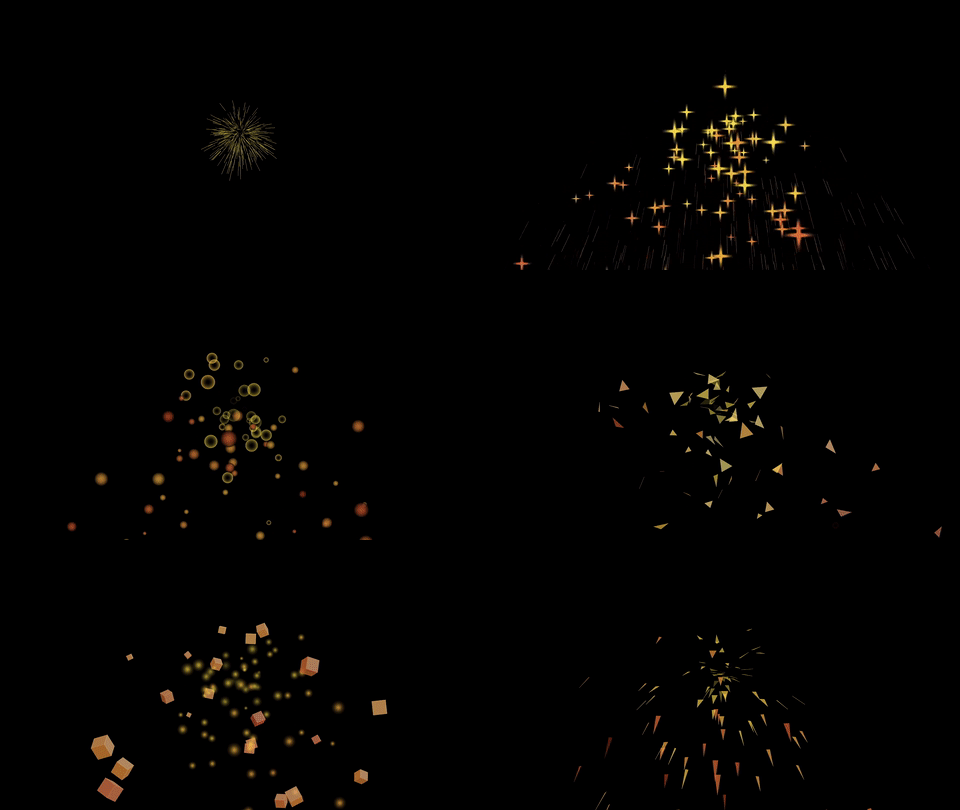
Finally, below Physics are the controls for the particles themselves. Particle Type is the first option and it controls the overall shape of the emitted particle – the possibilities include spheres, lines, stars, cubes, and mores. The bottom three options are “textured,” which means that you can use another layer in the composition (set immediately below) in them. Depending on which particle type you select, different options will be available in this section – there are lots of different combinations, so feel free to experiment. Some particles, such as 3D shapes and those with textures, are much more resource-intensive than others, so be aware that you may experience some computer slowdown.
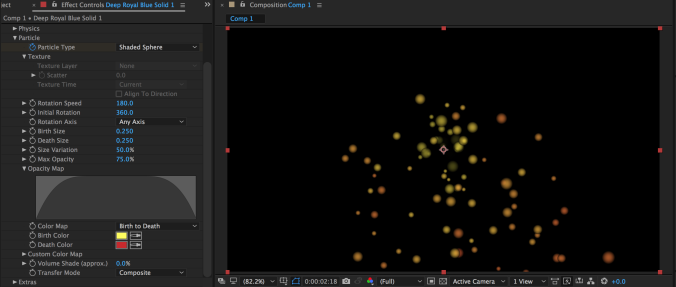
Since different options will be available depending on your particle type, I’m only going to focus on the most important ones here. The birth and death size determine the size of the particle when it first appears and at the point it disappears – remember, the lifespan was determined earlier with the Longevity (sec) setting. By setting the birth and death size to different numbers, you can make the particles grow or shrink over time. The Size Variation introduces a degree of randomness into this setting.
The Max Opacity and Opacity Map settings control how the particles fade in and out. If the Max Opacity is 75% (the default value), the particles will remain slightly transparent even after fading in completely. The Opacity Map lets you draw how the particle’s opacity changes over time. This means that particles can fade in and out over their lifespan, appear suddenly and disappear slowly, or simply fade in and out. The color options are similar in that they let you set a start color and an end color for the particle – use the Color Map dropdown to choose a preset pattern.
Particles in Space
As I mentioned earlier, the cool thing about Particle World is that the particles exist in 3D space even though the solid the effect is applied to is 2D. That means that you can drop a camera into the scene and navigate it through a field of particles for a very cool look.
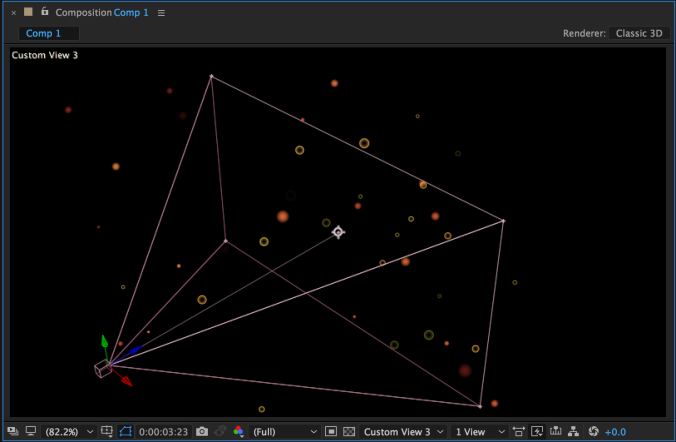
To move your camera through a field of 3D particles, you may want to create a 3D null object (Layer>New>Null Object, then turn on the 3D switch for that layer), parent the camera to it, and then keyframe the position or rotation on the null to move the camera through the field. You could also keyframe your camera’s position and rotation without using a null, but I find that it often makes camera movement a bit simpler. In addition to using moving particles, you could also keyframe the birthrate and resistance variables to freeze the particles in place – there are tons of different effects that can be achieved. Experiment and have fun!
