The Illusion of Life
Let’s take care of a few more basics in After Effects and move on to character animation. While After Effects is most often used for effects work and motion graphics, its versatile toolset makes it a very capable tool for animation.
Adjustment Layers
Adjustment layers are a very cool feature found in After Effects and some video and photo editing programs. Basically, an adjustment layer is a blank layer in the timeline. Any effects that you add to an adjustment layer will be applied to the layers beneath it. Any layers above the adjustment layer will be unaffected. This allows you to quickly apply effects to an entire scene. If, for example, you decide you want your composition to be in black and white, you can add an adjustment layer and apply the “tint” effect to it. Without the adjustment layer, you would have to go to each layer individually and apply the effect.
To create one, go the the Layer drop-down menu at the top of the page and go to New>Adjustment Layer. An adjustment layer the size of your current composition will be created and placed in the timeline. After Effects also lets you modify adjustment layers in interesting ways by using masks. For example, you can use a circular subtract mask on an adjustment layer to create a simple vignette. Note that while adjustment layers have transform properties, modifying those properties does not affect the layers below – only effects are applied.
If you do want to apply things like scale and rotation using an adjustment layer, it ispossible, however. In the “Distort” section of the effects, there is one called “Transform.” This is a set of the usual transform properties – anchor point, position, scale, rotation, and opacity – that can be applied as an effect. If you add the transform effect to an adjustment layer, that effect will be applied to the layers below.
Pre-composing
When you create a new composition in After Effects, it appears in the project panel along with the rest of your media – that’s because compositions essentially are pieces of media, just like stills and video files. This means that you can drag one composition into another and then add effects, mask it, or manipulate its transform properties. In fact, it’s quite common to have compositions within compositions within compositions for a complex project.
In addition to dragging one composition into another, you can choose certain layers within an open composition and make a new composition out of them – without ever leaving the timeline you are working in. After Effects calls this “pre-composing.”
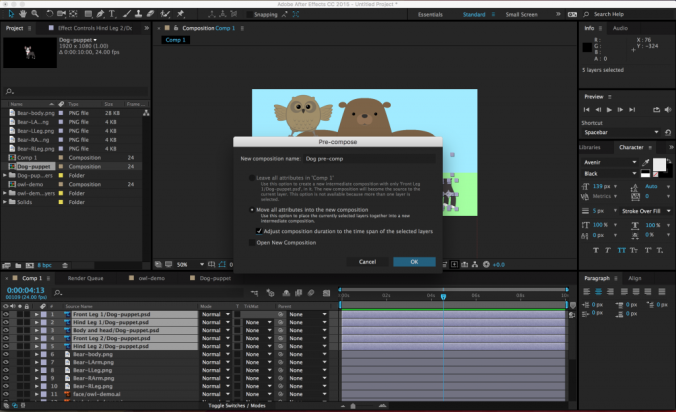
To pre-compose media in the timeline, select the desired layers (command-click to choose more than one layer), right-click and select Pre-Compose…. A menu will appear with options for re-naming the new composition (probably a good idea), leaving or moving the “attributes” of the layers (choose to move them), adjusting the length of the new composition (choose to do this), and opening the new composition (not necessary).
Once the layers have been pre-composed, the new composition will appear in the old composition as a single layer. It will also show up as a new composition in the list of project media. If you double-click on the pre-composition, it will open up in the timeline and preview windows. Pre-composing media is a great way to clean up a chaotic composition (sometimes you just have way too many layers in there), as well as a simple method of applying effects and transformations to multiple layers at once.
Parenting
Parenting is a unique feature in After Effects and it’s incredibly powerful. When you parent one layer to another, the “child” layer will be affected by the scale, position, and rotation of the “parent” layer. Parenting does not affect opacity, effects, or masks.
To parent a layer, you use the Parent section of the composition panel. You can either choose the parent layer from the drop-down menu or use the “pick whip” selector next to it (it looks like a little swirl). A parent layer can have multiple child layers connected to it – and a child layer can have its own child layers – but a child layer cannot have multiple parent layers. That probably sounds confusing, but it should quickly make sense once you start playing with it.
Parenting has some very basic and commonplace applications for things like lower thirds and title design. For example, you could parent a text layer to a solid layer, then animate the solid layer sliding into the frame. The text will keep its position relative to the solid and slide in with it. This keeps your animation consistent and means that you only need to keyframe properties on one layer instead of two.
Under the Layer drop-down menu, you can also create a “Null” object (Layer>New>Null Object). Null objects don’t appear to do anything at first, but they are very useful as parent layers. You can parent several child layers to a null and then affect them all simultaneously.
Simple Character Rigging
Now that we know how to parent objects, pre-compose layers, and adjust anchor points, we can move on to actual character animation. Let’s start with some simple pre-made figures – you can download a few at this link.
A simple puppet might have the figure’s arms, legs, head, and body on different layers. Complex puppets will break down the figure more and more – you might have separate layers for parts of the face, finger segments, clothing, and more. Basically, any part of the figure that you want to animate should be on its own layer.
You can import these layers individually, but After Effects is also very good at playing with files created in other Adobe programs. If you create your puppet in Photoshop or Illustrator, you can import those files with their layer structure intact. When you import an Illustrator or Photoshop file, simply change the Import As drop-down from “Footage” to “Composition – Retain Layer Sizes.” (The “Composition” option will work also, but I find “Retain Layer Sizes” easier to work with.) If you’re using a Photoshop file, another screen may appear with the option to keep or merge your layer styles – I tend to choose “merge.” Once you’ve imported the file, it will appear as its own composition with each layer separated out. Note that you will only get the dialog box with these import options if you use Cmd+I or File>Import – if you just drag an Illustrator or Photoshop file into the project window, all the layers will be combined into one piece of media.
With the puppet imported, you’ll want to begin parenting the different parts together – but first, you should think about each layer’s anchor point. As we discussed previously, a layer’s anchor point is the point around which the layer scales and rotates. Since we’ll be doing most of our animation using the rotation property, the anchor point is important. For example, a hand rotates around the wrist, the forearm rotates around the elbow, and the upper arm rotates around the shoulder. You can use the “pan behind” tool (its icon has four directional arrows in a dashed box – the shortcut is Y) to grab and move anchor points to their appropriate locations.
You can then parent the layers accordingly – in this example, the hand is parented to the forearm, the forearm is parented to the upper arm, and the upper arm is parented to the torso. If you do this correctly, rotating the forearm will also move the hand and rotating the upper arm will move all three. I realize that this is probably difficult to visualize, so take some time to play with parenting and anchor points. Imagine your puppet is a marionette and think about where the hinges should be – that’s where your anchor points go. Once the anchor points have been set and the layers have been parented, you can begin animating the puppet by rotating and moving the layers. Don’t forget to turn keyframes on for any properties you want to animate!

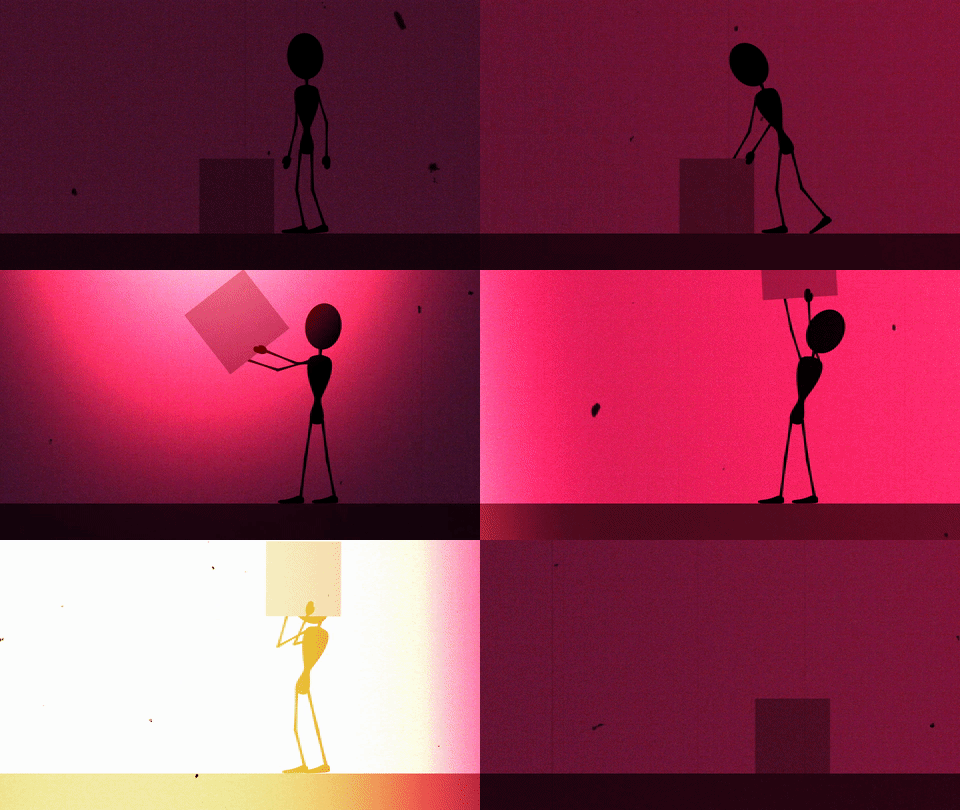

One benefit to creating your puppets in Illustrator (or using shape layers within After Effects) is that the puppet can be scaled up infinitely without losing quality. That’s because Illustrator is a vector-based program, as opposed to something like Photoshop, which uses pixels. To enable this ability (it is turned off by default), you need to check a box in the timeline that looks like a little sun – if you hover your mouse over it, it will say “For vector layer: Continuously Rasterize.” For pixel-based artwork, you will start to lose image quality as you scale up, but you can control how After Effects processes the image using the column next to the sun that looks like a pixelated diagonal line.

Puppet Pins
While animating using the transform properties can achieve very sophisticated results, the animated characters can sometimes look a little stiff. When we watch a cartoon, we are accustomed to seeing things move in “elastic” way: stretching as they build up speed and squashing when they land. We can achieve this effect in After Effects using Puppet Pins.
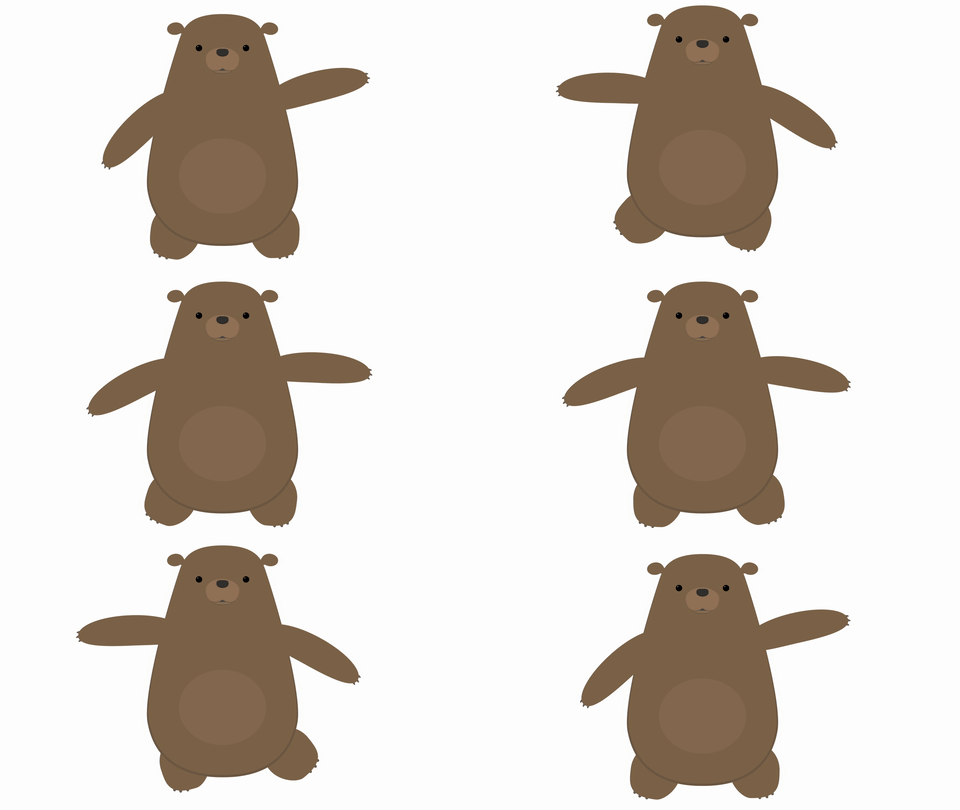
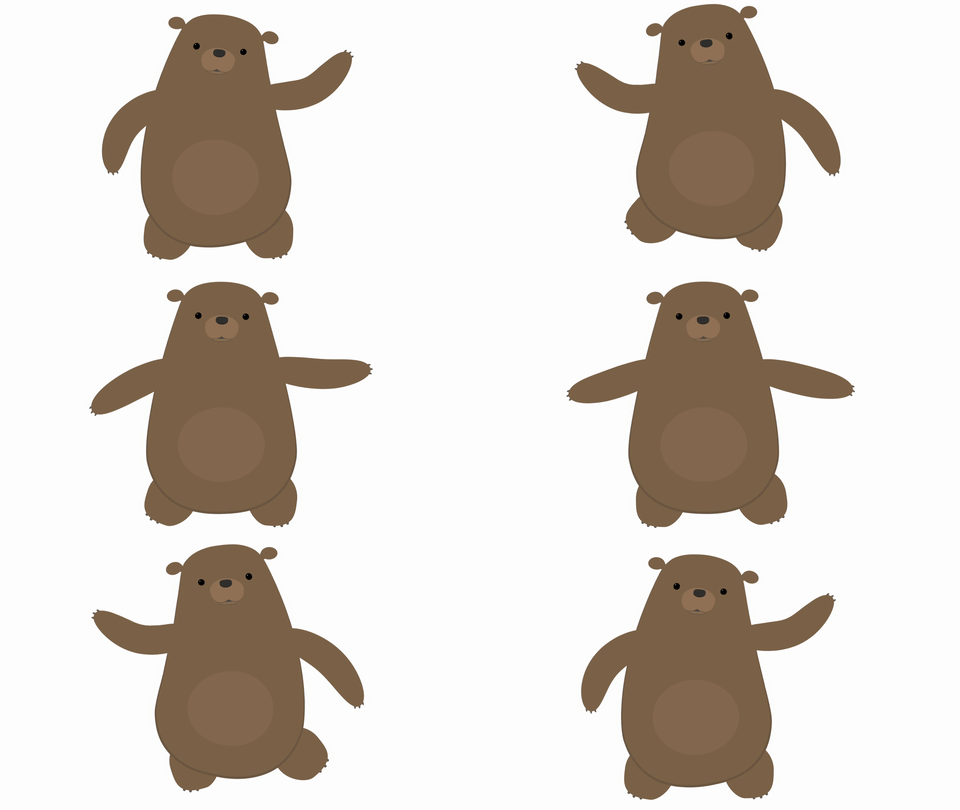
Set up your character in the same way we went over last time: position the anchor points on the joints, move the layers into position, and parent everything appropriately. Once everything is in place, it’s time to add some pins.
Puppet Pins are a tool for deforming layers. When you add pins to something in After Effects, the program generates a “mesh” over the object. When you move a pin, that mesh shifts and the layer is deformed. If you move a pin too much, you’ll get some funky results; the image will stretch too much and begin to tear. Moving a pin just a bit can give some really interesting results, though.
To start adding pins, select the Puppet Pins tool from the menu bar at the top of the screen – it’s the one that looks like a pushpin. In the timeline, select the layer you want to add pins to, then click on the layer in the composition panel to add a pin. You should see a yellow dot appear where you clicked.
Every pin you add will “pin down” a part of the object. That means that the more pins you add, the smaller the area that each pin will affect. My general rule is to add three pins to each part of the puppet I want to animate in this way. On an arm layer, I might add a pin near the shoulder, one near the elbow, and one near the wrist. On a leg layer, I might add one near the hip, one near the knee, and one near the ankle.
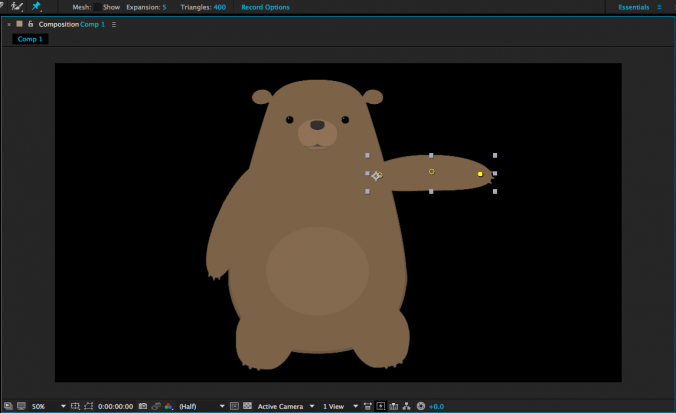
Pins have keyframes turned on by default, so you will add a keyframe every time you move a pin. However, you can still move or rotate the layer itself without adding pin keyframes. I like to add pin keyframes to accentuate movements; for example, I might add pins to a swinging arm to give the movement some elasticity. Note that pins are not affected by parenting layers to each other – they move independently. If you can’t see the pins, you can highlight the layer and click on the Puppet Pins tool again, or find the Puppet section of the layer in the timeline.
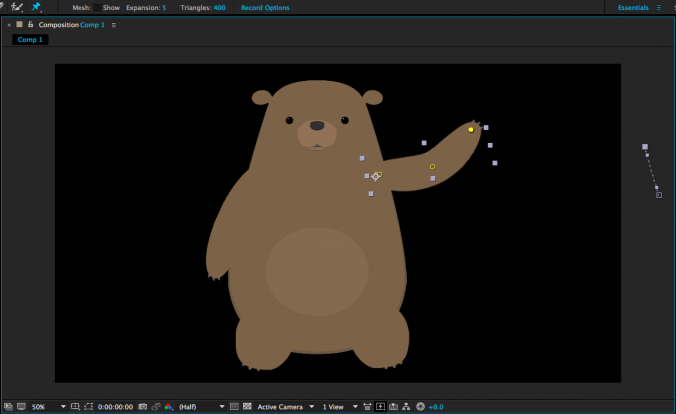
Occasionally, your pin may pull the layer apart in an unexpected way. This is usually because the mesh that the tool generates is not covering the entire object. When you have the Puppet Pins tool active, you should see some options next to the tool icon at the top of the screen. Clicking “Show” box next to “Mesh” will reveal the mesh that is being generated to deform the layer. If your mesh is cutting off part of the object, either add triangles or increase the “Expansion” property.
Puppet Pins open up lots of new creative possibilities. Use them to make your animations seem even more alive!

Project 5: Bring a Character to Life
This week, I’d like you to start experimenting with character animation. You can download the sample files to use or create a puppet of your own. If you choose to create your own puppet, you can use several approaches: you can create it in Illustrator or Photoshop, draw it on paper and scan it, or build it out of shapes and solids within After Effects. Don’t get too bogged down in the character creation process, though – we’ll be focusing on actually creating characters next week.
Either way, create a five to ten second scene with the character of your choosing. You can animate using transform properties, puppet pins, or a combination of the two. As usual, render it as a QuickTime movie using the H.264 codec, upload it to your Google Drive, and send me a download link.